


Using repeated elements to create new shapes
- Rachel Designs

- May 30, 2025
- 3 min read

Hello friends!
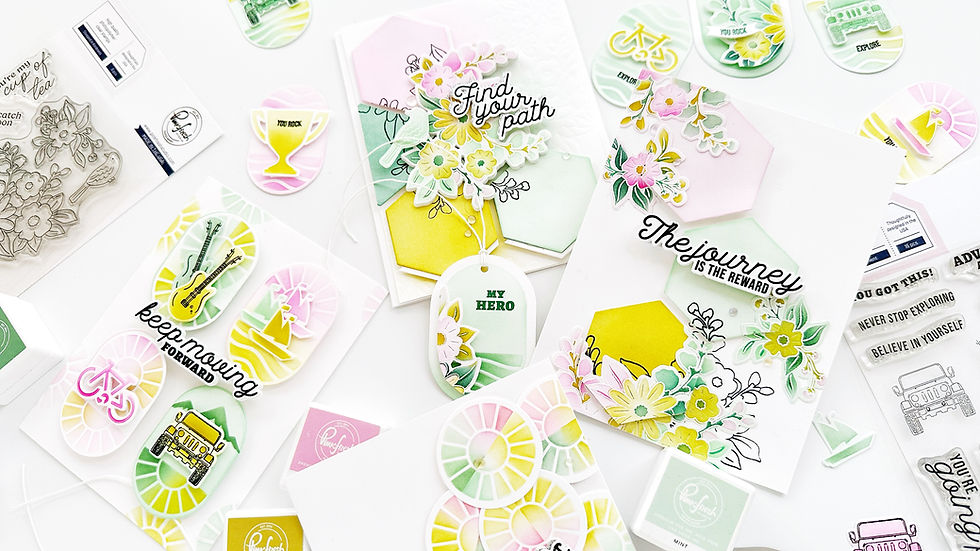
It's Raquel here, sharing these colorful cards with you featuring the Keepsakes of the heart product suite.
Pinkfresh Studio has just come up with this super versatile set in the Sunshine & Smiles release. It includes these dainty adorable and elegant floral images which you can pair with bottles that you can create with the coordinating stencil and die set.

I didn't use those bottles today because I wanted to show how easily you can create super fun designs with the graceful sprigs that are clustered together on a single stamp and press plate.
I'll be using the Keepsakes of the Heart press plate but you can totally recreate them using the Keepsakes of the Heart stamp set too.

Let's see the process of how I created these three cards:
I started all three cards applying Matte Gold Glimmer Hot Foil to the Keepsakes of the Heart Press Plate using the Glimmer Foil System.
Apply color to your springs using the coordinating stencils with the following colors: Candy Apple, Sweet Mustard, Marigold, Waterfall, Paradise, Atlantis, Grassy Knoll, Olive
You can use one color to each floral or aim for this multicolor look I got applying different colors to each leave.
Use the coordinating die to cut out these images, arrange them creating this semi circle shape onto your work surface and secure them with Press & Seal. Set aside.
For your background, apply some texture paste onto an A2 notecard using your favorite stencil.
Add double sided foam adhesive to the back of your springs and adhered them to your stenciled background once it's dry.
Create a band for the center of your card adding texture with the Fancy edgers die set.
Foam mount your sentiment in the middle. I stamped my sentiment from the Sunshine & Smiles stamp set with Detail black in.
Add some Clear with gold dust gems.

For my next project, I repeated the steps 1,2 and 3 from my first card:

1. Once you have your sprigs colored and die cut, apply Waterfall ink onto the bottom half part of A2 note card horizontally.
2. Cut out a diecut from the Twist Pattern die out of white cardstock and adhere it to this light turquoise ink blended panel. To add some interest, I did't adhered the complete diecut, only part of it, as a backdrop for your sprigs.
3. Foam mount your sprigs onto this backdrop arranging them in different directions to create movement.
4. Create a 5 1/2 by 2 inch panel, dry emboss it with the Stitched Basket Weave coverplate die and cut out one of the edges with theFancy edgers die set.
5. SStamp your sentiment from the same set with Detail Black ink and foam mount it onto your front weaved panel overlaping another diecut layer of the same sentiment cut out of gold glitter cardstock.
6. As a final touch you can adhere some small flowers from the Stylized Florals set.

For my final card I used the third floral from this set:

Repeat 1, 2 and 3 steps from the previous cards and arrange your florals creating a circle on your work surface. Use press & seal to help you adhere them onto your card.
Cut out a square die cut using largest of the Dotted Postage Square die set and dry emboss it with the Garden Medley Press Plate.
Foam mount this square postage die cut onto a 4 1/4 by 4 1/4 cardbase and adhere a circle from the Double Stitched circle die to house your sentiment. The sentiment I used is from the Sunshine & Smiles stamp yet.
Add an extra diecut layer to your sentiment cut out of glitter cardstock and adhere some Clear with gold dust gems.

I always enjoy trying different color combos and I thought this set was perfect to create these playful designs.
I hope you find these ideas inspiring and give them a try.
Have fun crafting and thank you so much for stopping by!
Raquel


Comments