


Sunshine & Smiles Blog Hop and Giveaway
- Rachel Designs

- May 20
- 3 min read
Updated: May 21
We are celebrating this fabulous and summery Pinkfresh Studio release with you today. Hop along with us for some gorgeous inspiration and amazing prizes!

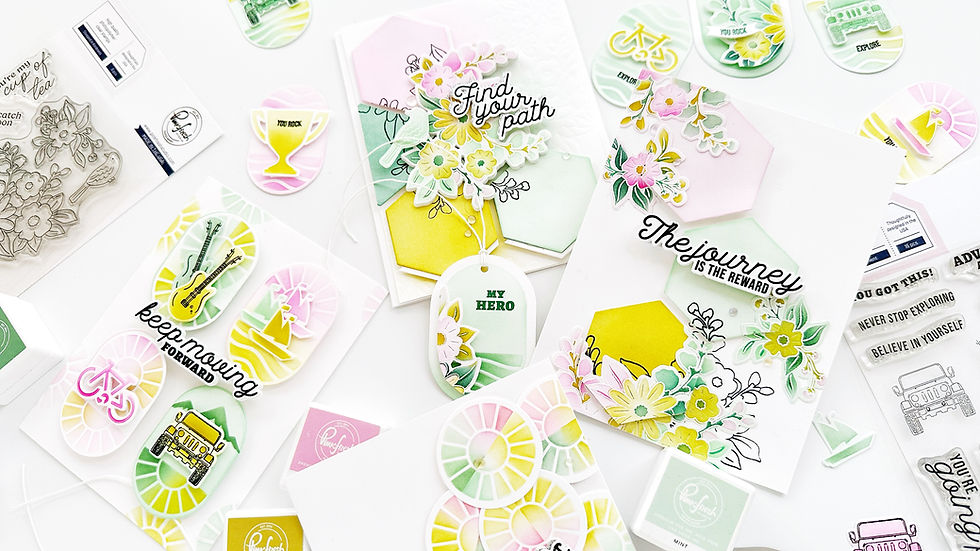
Pinkfresh Studio has come up with absolutely adorable and whimsical products for this "Sunshine & Smiles" release. There are floral sets of course, but you will also find clever and well thought out products perfect for summer along with some essential die sets and the new Precision Clear Craft Glue.
I have several favorites from these release so it was diffucult to choose among all the beauties among all the fabulous products. In the end I decided to showcase the new product suitet which includes a layering stencil set that coordinates with a die set: Petal Perfection die set and Petal Perfection stencil. It's a amazing addition to the Pinkfresh Studio line of dies with coordinating stencils.
Let me show you my card and the step by step process of how I created it:

I started my projects ink blending three A2 panels because I envisioned my tulips in primary colors so I added color with the Petal Perfection coordinating stencils using Peony and Candy Apple for reds for my first panel; Lemon Whip and Sweet Mustard for yellows for my second panel and Sky Blue and Summer Shower for blues for my third panel. I also used Fresh Pear, Grassy Knoll, Key Lime and Olives for the stems and leaves in all the panels.
The Petal Perfection Stencil has four stencils. There are two layers for the tulips petals so you can choose several methods to color these tulips. I went with two colors of the same family for my cards today but you can be much more creative and design a gradient look or even a rainbow look.
Once I colored all my panels I went ahead and cut them out with the coordinating die

I decided to frame my tulips using a new Essential die set, The single Stitch Rectangle die but I wanted to add some additional interest to my frame so before cutting out the frame I created this addorable gingham border with the Border Stencils set. I used both layers to create my gingham pattern applying Candy Apple ink.
Once the ink blending was done, I adhered the two largest dies from the Single Stitch Rentangle die set with repositionable tape and cut out a frame out of my Gingham A2 panel.
For the background; I used the new Garden Medley Press Plate to dry emboss an A2 panel. I applied Sweet Mustard and Candy Apple to certaing areas to add some extra interest.
I adhered my tulips to this background and foam mounted the doble frame on top carefully arranging the tulips from the edges so they were peeking outside the frame.
Lastly I added some Iridescent Dew Drops and the sentiment from the Timeless Tulips Stamp stamped with Detail Black ink.

For my second project I pretty much repeat the process of the previous card:
Ink blend your Petals with Sky Blue, Summer Shower, Lemon Whip, Sweet Mustard, Peony and Candy Apple and all the greenery with: Fresh Pear, Grassy Knoll, Key Lime and Olive for the stems and leaves in all the panels.
For the background: use the new Garden Medley Press Plate to dry emboss half on an A2 panel. Add Sky Blue ink on the other part of the panel.
Cut out your Tulips with the coordinating die and arrange them as shown onto the background panel.

Create a Gingham border on an A2 panel with the Border stencil set applying Sky Blue ink.
Cut a rectangle out of this Ginhham panel using the The single Stitch Rectangle die and foam mount it onto your Tulips panel.
Adhere some Iridescent Dew Drops and the sentiment from the set Keepsakes of the Heart stamp set.

Now for the Giveaway:
-Pinkfresh Studio will give away the full release on the Pinkfresh blog and YouTube channel.
as well as TEN $50 gift cards along the hop. As usual with blog hops, the winners will be selected from the comments, at random.
-Pinkfresh Studio will pull the winners and post them on May 28, 2025, on their GIVEAWAY PAGE. Please remember to check that page and claim their prize within two weeks.
There are so much more inspiration in this hop, so please don't forget to check all the projects that the rest of the designers have created:
I hope these projects inspire you!
Thank you som much for stopping by and happy hoping!
Raquel


Lovely in blending, thank you for the inspiration!!
Wonderful color mix. I like the partial color for the framing.
Adorable. I really like how you used these die cut wildflowers.
These are all so very pretty and I love your idea of the gingham addition to the frames. Tulips are a sign of spring and these stamps and stencils really set the mood for springtime!
So pretty. Really love the ink blending.