


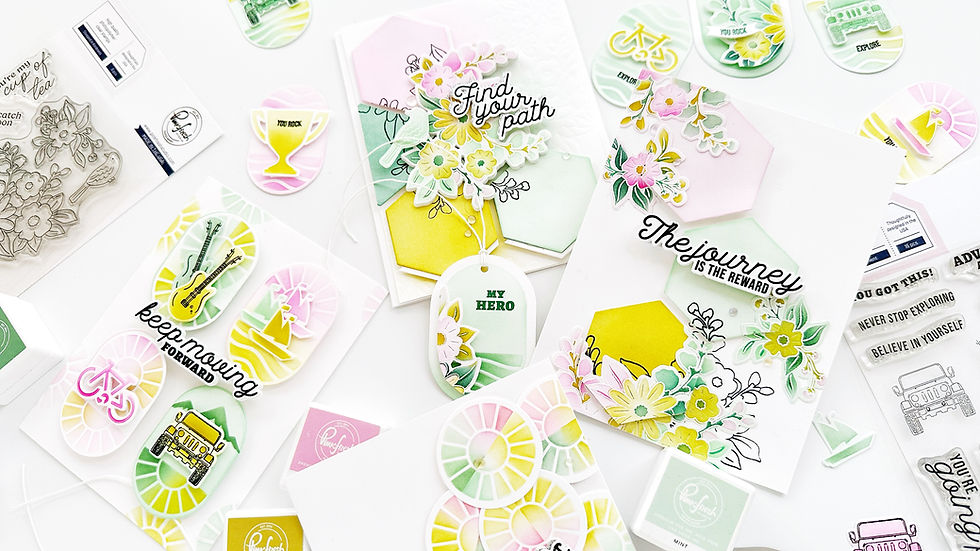
Pinkfresh Studio September Stamp, Die, Stencil, and Hot Foil Release
- Rachel Designs

- Sep 21, 2021
- 4 min read
Hello crafty friends!
I'm super excited to be sharing with you this gorgeous release from Pinkfresh Studio. We are going to celebrate it with a fabulous blog hop filled with tons of inspiration and chances to win fabulous prizes.

I'm in love with the truly beautiful sets of flowers from this release: Garden Roses Stamp, Die and Stencil; Bloomin Brunch Stamp, Die and Layering Stencils, Dahlia Brucn Stamp, Die and Layering Stencils and the Lush Peonies Stamp, Die and Layering Stencils. There is also the fabulous Inna Alpha Stamp, Die, Layering stencils and Hot Foil Plate along with the Solid Hot Foil Plate which is absolutely a must have and so super versatile!
I've had so much fun playing with some of these sets!!! so without further ado let me show you the first project I created:

This is the beautiful Garden Roses set. As all the stunning sets from this release, it includes a Stamp and a coordinating die and stencils. For this project I just used the stencils and I must admit I truly love the look of this stencilled image. I chose some blues (Blue Jay and Saphire) and reds (Coral Red, Passion Fruit and Candy Apple) This color combo is one of my favorites and I have used it before... Once I had inked this Roses, I decided I wanted a white background so as to make these flowers the star of the show.

I used the Stitches die, the Simply Diamonds die and the Stitched Scallop Circles and stacked them so as to create some dimension. I also added some Stargazer jewels as well as some leaves from the Garden Wreath die set cut out from white glitter cardstock. The sentiment is from the Lush Peonies set.

Have you seen the Dahlia Bunch set? This is another stunning cluster of flowers!!! I couldn't help but make two cards with this set. This is the first one:

I went ahead and used the coordinating layering stencils directly. I don't know what it is, but I simply adore this etheral yet striking effect of no line images. These non traditional colored flowers is what really appeals to me the most: thinking about a hundred possible combinations without having to be real at all. So again I used blues: Saphire and Blue Jay; Sunshine, Sweet Mustard and Marigold as my yellows and Apricot, Clementine and Persimmon for my oranges. I also used some Brown ink (Doe) for the center of some flowers.

Once again, I decided to leave the background white. I used the Slim Leafy Square Stencil and applied some white embossing paste for some dimension. The least detail was adding the some Gold Glitter cardstock leaves for which I used the Leafy Branch die. For the sentiment I used this beautiful one from the set Blooming Branch:

Here's another project I made with this set :

For this one I did stamp the stamp set in Deail Back ink. I chose two shades of yellows (Lemon Whip and Sunshine) three shades or oranges (Peach Fuzz, Apricot and Clementine) reds and pinks (Ballet Slipper, Raspberry Bliss, Coral Reef and Candy Apple) and Fresh Pear and Olive for the leaves.

I partially gold embossed the Folk Edge Circles die set and added some leaves from the Garden Wreath die set cut out of white glitter cardstock.
For the sentiment, I chose this Huge Thanks from the set Blooming Branch Stamp and white heat embossed it black cardstock.

The new Inna Alpha Stamp, Stencil, Die and Hot Foil Plate is just perfect to create projects where the sentiment is the focal point.

I created this clean and simple design using the Dahlia Bunch stamp set again:
I gold heat embossed both the Inna Alpha stamp and the Dahlia Bunch. First I colored the flowers using teals (Aquamarine and Tidal Pond) and oranges (Clementine, Apricot and Persimmon).
I used the same colors to ink up the Alpha Letters but I decided to just color the small flowers from each letters and leave the rest white.

The last step was turning all those elements into a card so I figured I'd frame the HUGS word with the flowers.
I dry embossed an A2 panel using the Radiating Background 1 die and added some splatters of gold watercolor. Once it was dry, I foam mounted the sentiment HUGS in the center and arranged the flowers in the upper and bottom edges so as if they were framing the sentiment. Lastly I added the word SENDING from the set Garden Roses

My last project portrays the set Blooming Branch:

I wasn't sure what color combo I should use so I decided to go on rainbow order from yellow (Lemon Whip, Sunshine, Sweet Mustard) to orange (Apricot, Clementine) to coral (Coral Reef, Passion Fruit) to pink (Sparkling Rose, Bubblegum, Raspberry Bliss) and Fresh Pear and Grassy Knoll for the leaves:

As in all my previous projects, I kept the background white. I created some panels using the Lacy Edgers 1 die set and foam mounted my flowers on top.

Lastly, I stamped the word SENDING in Detail Black and white heat embossed the Smiles & Hugs sentiment both from the set Garden Roses.
SHOPPING PROMO:
Pinkfresh Studio is offering free US shipping on all orders $75+ from September 27th to October 3rd.

GIVEAWAYS:
-Pinkfresh Studio will be giving away the full release on the Pinkfresh blog & YouTube channel
-We will be giving away a total of TEN $25 gift cards along the hop. As per usual with blog hops - the winners will be picked from the comments.
Winners will be posted on October 5, 2021 on our GIVEAWAY PAGE. Please be sure to check that page & claim your prize within 2 weeks.

Here you are the complete BLOG HOP list:
I Hope you enjoyed my cards and thank you so much for stopping by!!!
Rachel


Love your use of Color with the blue leaves. Stunning!
Gorgeous cards! I love the color combinations you used!!! Swoon!
Beautiful cards! I really love the color combination of the first one. :)
Gorgeous cards!~
These are so beautiful. You show off all of the products so nicely, and your cards are stunning. Thanks for sharing. I want it all!