


One product, two different looks: Elevated rainbows
- Rachel Designs

- Jun 9, 2025
- 2 min read
Updated: Jun 10, 2025
Hello again friends!
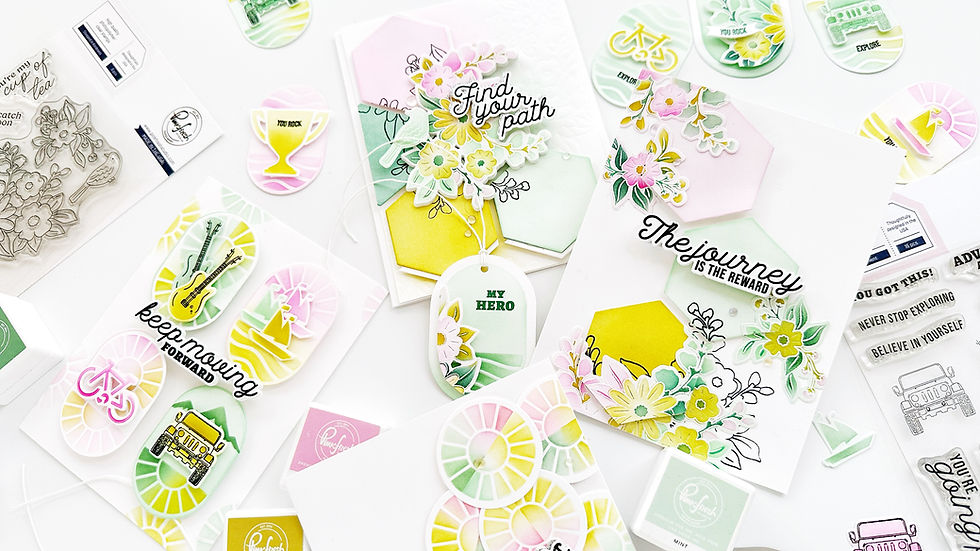
I'm back on the blog with some colorful designs using both the theme and some color combos inspiration from June challenge, Rainbow Reverie: Sparkiling Rose, Peony, Citron, Aquamarine and Blue Jay though I used some additional colors along the way.

For today's post I'll be using the Elevated Rainbows stencil and die set as I thought they'll be perfect for some rainbow theme designs.
The idea behind these cards is creating a rainbow for your background and then use other elements to step them up.
Let's dive right in and see how to recreate these cards.

Use the Elevated Rainbows layering stencils to add color to an A2 panel with Sky Blue, Sparkling Rose, Aquamarine and Citron. I went very light handed with aquamarine as I didn't want this color to stand out too much. We are going for a soft pastel background.
Cut out two pieces of the elevated rainbows out of white cardstock and glue them together.
Adhere this piece onto your rainbow stenciled background.
Create some tulips with the Petal Perfection layering stencil set and die set using Peony, Aquamarine and a little bit of Candy Apple for the biggest tulip and Limoncello, Citron and Bay Leaf for the yellow green tulip. Cut them out with the coordinating die.
Cut out an oval out of white cardstock with the Nested Elongated Oval die set and ink up the edges with Sky Blue.
Adhere this oval onto your Elevated Rainbows background with double sided adhesive and arrange your tulips on top.
For the sentiment, I used the Keepsakes of the Heart stamp set.
Add some bling. I used the Clear with gold dust gems.

For my second card, I created a similar design changing up some elements of the design:

This is the step by step process:
Follow steps 1, 2 and three from the previous card using the following colors: Sparkling Rose, Raspberry Bliss, Apricot, Grassy Knoll and Blue Jay.
Cut out an oval out of a white A2 notecard with the Nested Elongated Oval die set.
Adhere this oval die set onto your Elevated Rainbow panel and out an oval frame using the same Nested Elongated Oval die set.
Foam mount this frame onto your front panel.
Use the Summer Fun layering stencils and die set to color and cut out these super fun images. To create a cohesive look I used the same colors of my background.
Use black craft foam to cut out additional die cut pieces of these images and adhere them to your images. For the sun, I used Gold Glitter Cardstock.
Adhere these images to your background around the frame.
Finally, add your sentiment. I used this sentiment from the You are my rainbow stamp set.

I hope you feel inspired and have the opportunity to recreate these designs. They are super easy to make and I'm sure you'll have as much fun as I had while creating them.
Thank you so much for stopping by and happy crafting!
Hugs,
Raquel


Comments