Make the most of your dies: using Pinkfresh Studio Tranquil Water lilies stencils and dies creatively
- Rachel Designs

- Jul 28, 2025
- 3 min read

Hello again friends!
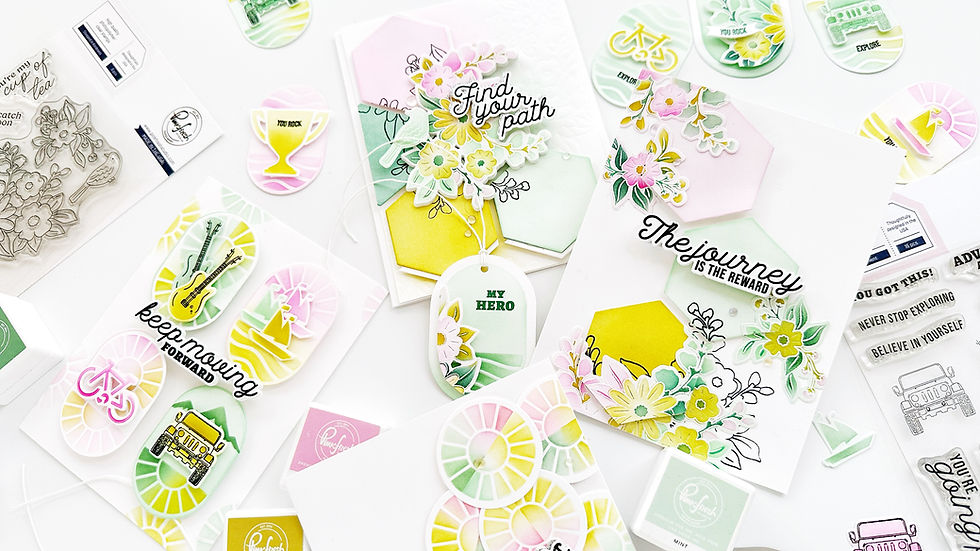
I'm back on the blog with some ideas using the amazing Tranquil Water lilies die and coordinating stencils from Pinkfresh Studio. These are the kind of projects I enjoy the most.
Once I've used a product as it is intended to be used, I love to stretch it out and find new ways to use it. The water lilies set are certainly one of those products which versatility is huge! I went a little bit overboard because, as usual, I need to try different color combos and that led to, let's say, a great amount of water lilies!
My tip at this point would be: stick to your favorite color combo or, if you're like me and like to explore...have fun ink blending and create two or three options.
Let's start creating:

These are the steps to recreate this card:
Cut out your water lilies out of white cardstock three times with the Tranquil water lily die three times. We'll be using the largest and medium lilies of the top row and also the largest of the smaller ones.
Use stencil 1 & 2 to color the largest lili with Begonia & Mulberry Blush and Citron and Bay Leaf. Color the medium lili die with stencil 2 & 3 with Citron, Cherry Blossom and Peony. Finally, for the smallest lili, use stencils 2, 3, 4 & 5 with Mulberry and Bay Leaf. Tip: You can vary the intensity of the colors to add interest to your lilies and apply more or less pressure when inking.
Repeat this process three times to create three lilies and two additional smallest ones to decorate your front panel.
To decorate your front panel, stamp your sentiment in the inside of an A2 side folding card with Detail Black ink. I used the You are my rainbow stamp. Leave your stamp on your stamping platform, close your cardbase and stamp again your sentiment on the front panel with Misty Coast. Cut out the sentiment of your front panel with the coordinating die to create a window for your sentiment.
Use the Stary Scallops Coverplate die as a stencil to apply Peony onto your card front.
Apply Peony onto an A2 separate panel with this coverplate die and cut out stripes out of this panel.
Use these stripes to decorate your front panel and arrange your lilies around your sentiment and onto these stripes.

To make the most out of your Tranquil Water Lilies set, let's create another card with the Water lilies pads:

Use up all your water lilies pads and ink them up directly with your blending brushes or using the coordinating stencils.
I used 10 water lilies pads and applied colors randomly just being careful not to mix warm and cool tones. I used: Candy Apple, Raspberry Bliss, Sparkling Rose, Sunshine, Citron, Grassy knoll, Olive, Meadow, Aquamarine and Turquoise.
Arrange your Water lili pads around your cardbase, secure it with Press & seal and cut out the excess and foam mount them onto your cardbase.
Use the Celebrate die from the Basic sentiments set to cut out three layers out of white cardstock and adhere all three layers to achieve more dimension. Use the coordinating celebrate shadow die to cut out the shadow out of light pink cardstock applying peony at the bottom of this shadow layer and adhere the white layer on top.
Foam mount this sentiment in the center of your front panel and your card is done!

I hope you like these ideas and find them inspiring. The Water lilies as well as the water lilies pads can be used in a million ways so have fun using them in fun, different ways and make the most out of this gorgeous product!
Thank you so much for stopping by and happy crafting!
Raquel


Comments